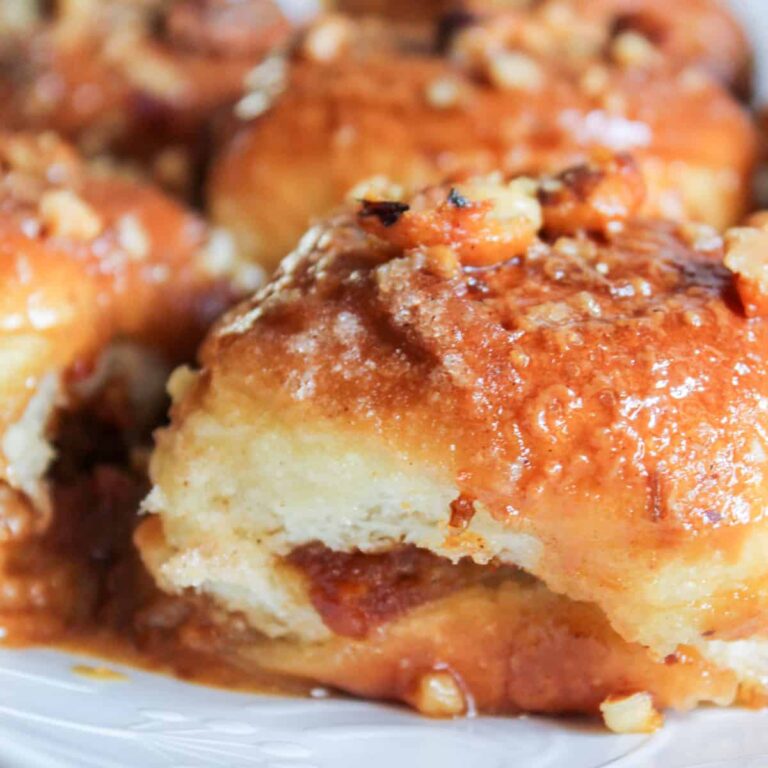
Chocolate Puff Pastry Recipe
Imagine a puff pastry so light and flaky it practically melts in your mouth. Now picture that pastry filled with warm, gooey, melted chocolate. This recipe shows you how to make it. Serve your chocolate puff pastry with even more chocolate sauce, some fresh fruit slices, or whatever sounds good to you.

recipe highlights
ingredients and substitutions
Get the full ingredient list and full instructions in the printable recipe card below.
Variations
There are several variations for this recipe:
- If you decide to cut your pastry dough into rectangles instead, you can twist the dough by rolling it into a straw shape and then twist the dough before placing on a baking sheet for fun chocolate puff pastry twists.
- You could also use crescent dough and create chocolate croissants. Try our Easy Chocolate Croissants!
Please note: Making changes to any recipe as written can result in a recipe failure.
Any substitutions or variations listed are simple or tried and true changes that we think will work in this recipe.
Results are not guaranteed.

tips & tricks
- Don’t be afraid to try different fillings in these – candy bars are a fun way to try something new.
- Try Hazelnut spread like Nutella in these for another added treat!
- Before serving, sprinkle the tops of pastries with confectioner’s sugar, cupcake sprinkles,
kitchen items we used
These are the tools and supplies we used for this recipe. If you purchase anything using one of our links, we will make a small commission from Amazon.

storage tips & leftovers
Here are some tips to keep your chocolate puff pastries fresh and delicious for days:
Short Term: If you plan to eat the pastries within a day or two, store them at room temperature in an airtight container. They’ll be best if eaten fresh. The chocolate sauce should be stored separately in the fridge for up to 2 weeks. Some separation could happen in the fridge, so simply stir the chocolate sauce well, to reincorporate.
Long Term: For longer storage, keep them in an airtight container in the refrigerator. They should last for up to a week this way. Keep in mind the pastry might lose some of its crispness.
Reheating: To bring back some of the crispness, you can reheat the pastries in a preheated oven at a low temperature (around 300°F or 150°C) for a few minutes. Watch them closely so they don’t burn. You can also use a toaster oven for reheating. You can also heat them up in the air fryer. Preheat your air fryer before placing inside. 400 degrees for 1-2 minutes. Check after 1 minute to see if its ready. All air fryers differ!
We do not recommend storing these in the freezer, as they tend to turn soggy.
more fabulous chocolate desserts
- Easy Chocolate Camping Cake
- Reeses Banana Peanut Butter Stuffed Ebelskivers
- Chocolate Peanut Butter Reeses Parfaits
- Hershey’s Kiss Chocolate Pie
- Red Hot Cinnamon Chocolate Cupcakes
- Chocolate Covered Strawberry Bars
PLEASE NOTE:
While we have provided a jump to recipe button, please note that by skipping the copy, you are missing useful information on ingredients and techniques, substitutions, frequently asked questions with responses, tips and a lot more information that might be useful for troubleshooting or making the recipe.

Chocolate Puff Pastry Recipe
Ingredients
Pastries:
- 1 sheet puff pastry dough can also use crescent rolls
- 8 ounces Hershey's Chocolate Candy Drops
- 1 Tablespoons whipping cream
- 1 teaspoon granulated sugar
Chocolate Syrup Topping:
- 1 ½ cup granulated sugar
- ¾ cup water
- ¾ cup cocoa powder
- 1 teaspoon vanilla
- 2 Tablespoons. corn syrup
Instructions
For the Pastry:
- Preheat oven to 375 degrees F. Spray baking pan or cookie sheet with cooking spray.
- If you use the canned crescent rolls, open the pkg. and create one solid sheet by using your fingers to pinch all the edges together and smooth out (with rolling pin, if desired).
- If you use homemade pastry dough, (we make our own crescent rolls, sometimes), roll it out flat.
- Whichever method you use, cut the dough into 6" squares. You could also make a rectangle.
- Lay them onto your baking sheet or cookie pan.
- Place a few chocolate drops or a few chocolate chips or one mini Hershey bar into the center of each dough square.
- Fold the 4 corners of the dough, and pinch to close. Pinch all the sides as well.
- Brush the tops of the pastries with whipping cream and then sprinkle with sugar (we used pink sugar from Wilton in honor of Valentine's Day)
- Bake for 14-16 minutes or until golden brown.
- While they are baking, prepare the syrup.
For the Chocolate Syrup:
- Boil the water and add the sugar. Boil until dissolved. Whisk in the rest of the ingredients.
- Cook for about 2-3 minutes over medium heat.
- Spoon onto plates before setting pastries on top. Drizzle over the top of each pastries. Serve everything warm.
- Remaining chocolate syrup can be kept for about 2 weeks in container in the refrigerator.


These look delicious and decadent Nicole.
Micha, they are super chocolaty and very yummy! You’ve got to try them and they are so incredibly easy but they look so elegant. haha
Miss you!!
Ooh these chocolate puff pastries looks delish! I love the chocolate river oozing out of them!
Today I’m linking up my Valentines Cupcakes with a Twist.
Drop by Fusion Fridays at jennifercooks.com each Friday and link up your goodies! {Open thru Wednesday}
Thanks so much for hosting and Happy Valentines!
Jennifer, they are very, very tasty. If you add a bit of oil to the chocolate inside, the chocolate river will ooze even more. I have several different ways I’ve made these – my favorite is to mix up a chocolate ganache and stuff it inside. Talk about a river – and amazing flavors. Yum!
I will make sure to check out your Fusion Fridays. I feel bad, as I’m not sure I’ve ever been before. I’ll change that!
Thanks!!
Looks absolutely foodgasmic. Yum!
Vanessa, I love that word. Foodgasmic. Awesome. haha
Thank you!!
I came to this post too late for valentines day (my girlfriend got treated to a McDonalds drive-thru), but I think this recipe will make up for it. Will try the Chocolate Puff Pastry recipe and hopefully it will turn out as nice as the photograph looks.
James, you definitely should make this for your girlfriend. It’s very easy but it looks like it took a bit of time. She will most definitely be impressed. Let me know if you try it.
This kind if recipe is good to eat..Thanks for the recipe..
This looks mouthwatering, Nicole! What a delicious recipe. Thanks for sharing. You have a great blog and I’m happy to have found you!