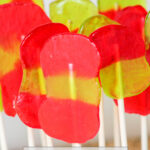
Festive, colorful and made with your favorite candy, you can make these great Homemade Jolly Rancher Lollipops for Christmas, the 4th of July or any holiday! They make a great gift or simply keep them for yourself and enjoy!
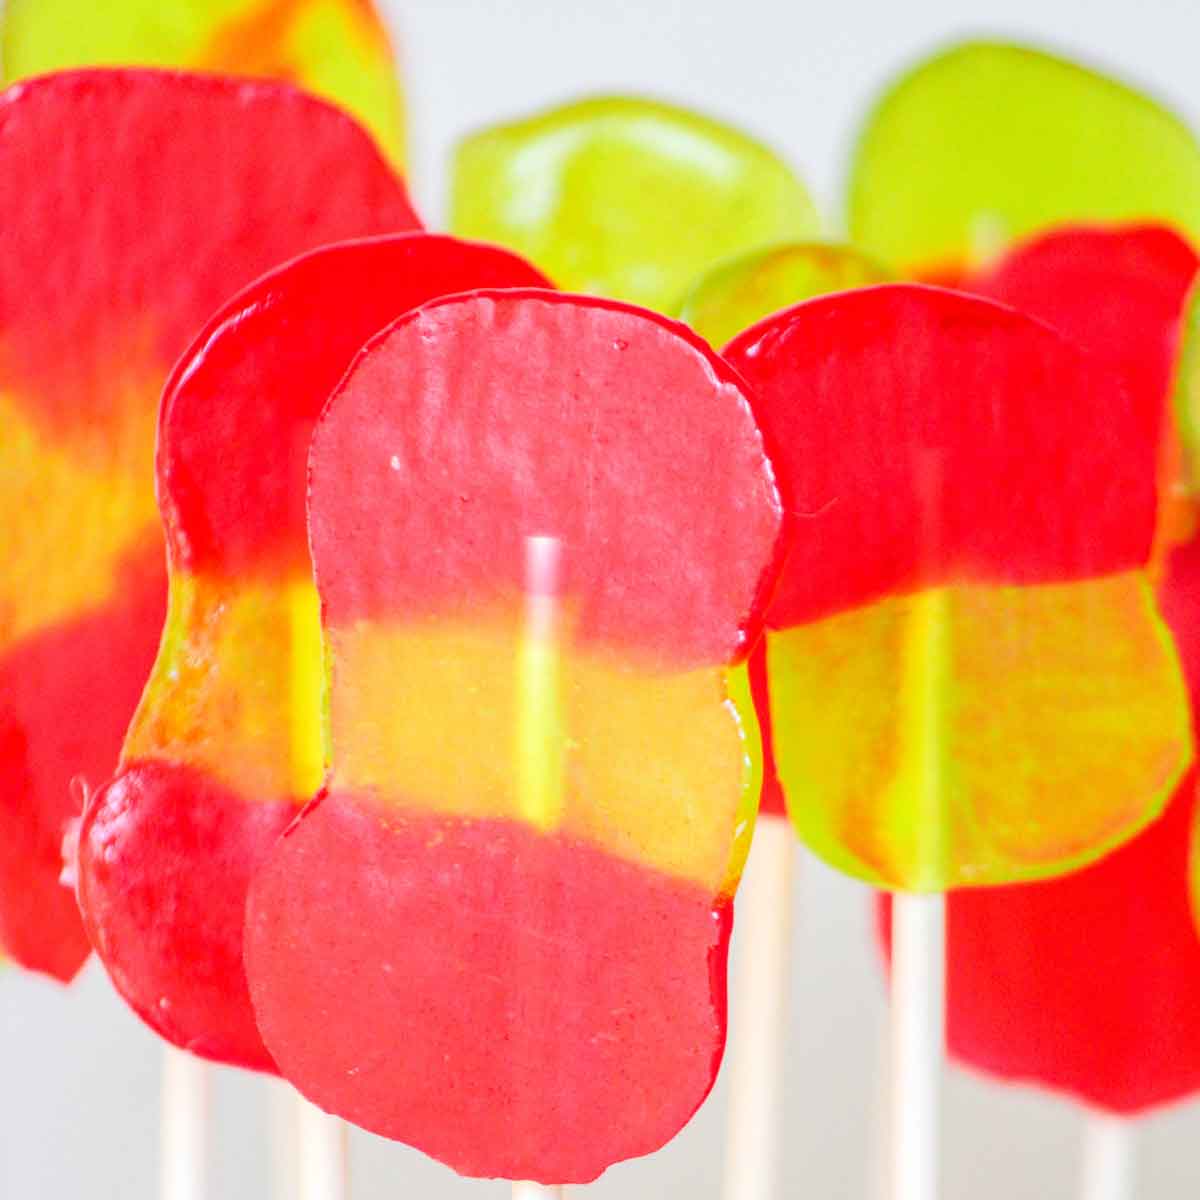
Once upon a time I was a preschool teacher. Then I became a mom. Along the way I took things we made in the preschool and made them with my own kids. This is one of those recipes. And ironically now my daughter has a son, and she has made them with him. Traditions.
Why You’ll Love These Homemade Jolly Rancher Lollipops
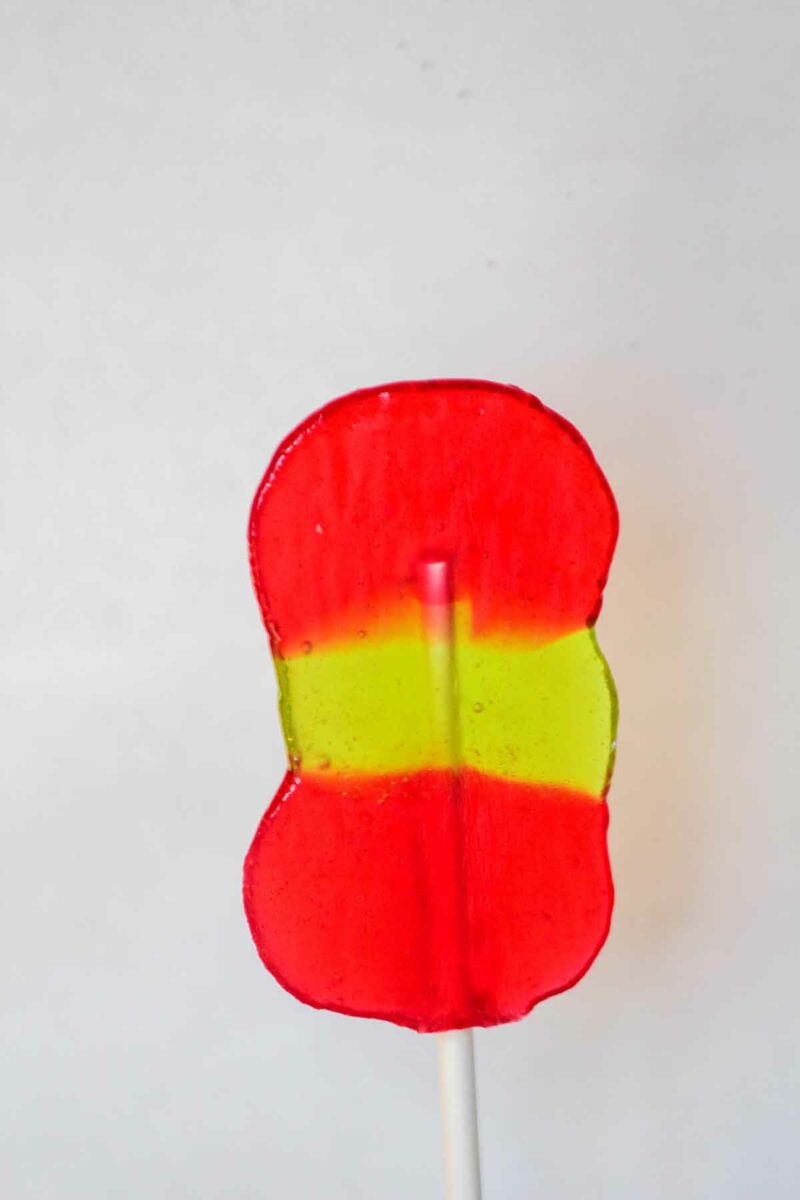
Ideas for colors and holidays
Since Christmas is fast approaching, we decided to do some fun Christmas colors and make lollipops to enjoy and to give away to family, friends and neighbors. But you can make them for really any event… just change your colors. And for the record, you can use other hard candy.
- Christmas (red/green) – lime or apple with strawberry, cherry or fruit punch jolly ranchers
- Hannukah (blue/white/silver) – blue raspberry with pineapple jolly ranchers (use edible silver glitter to get the silver in there more)
- Halloween (orange/green or orange/purple) – orange or peach jolly ranchers, grape jolly ranchers, lime or green apple jolly ranchers
- Patriotic/4th of July – (red, blue and/or white) – pineapple jolly ranchers, cherry, strawberry or fruit punch jolly ranchers, blue raspberry jolly ranchers
- Gender Reveal – (Pink/Blue) – strawberry and blue raspberry jolly ranchers
We will list more as we make them.
While I am sure you can find jolly rancher lollipops, so they won’t turn out as large as these do, and you can’t customize the colors and or shapes if you want.
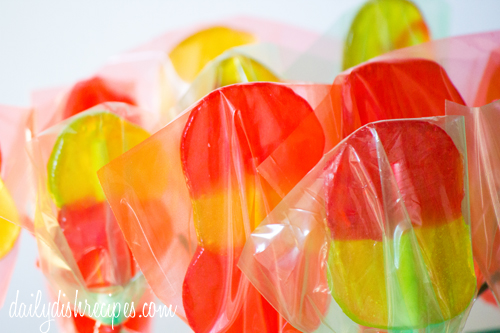
More Fun Candy Recipes
If you make our recipe, please let us know! Tell us in the comments or you can take a photo and share it, tagging us on instagram, facebook or twitter with #dailydishrecipes. We love seeing your creations!
Printable Recipe
Homemade Jolly Rancher Lollipops
Suggested Equipment
Ingredients
- 2 cups Jolly Ranchers Candy in red and green
- ¼ cup chocolate melted if desired to dip lollypops in
Instructions
- Preheat oven to 200 degrees.
- Cover a cookie sheet with tinfoil and then add a layer or parchment paper. I prefer cooking with the piece of parchment paper on top because when the candies cool, they are VERY easy to remove.
- Unwrap your jolly rancher candies and line them up on a cookie sheet. Mix and match colors. I tried to stick to three candies per lollipop because any bigger and the lollipop is un-sturdy and difficult to get the stick into.
- When you are lining them up on the sheet, make sure there is plenty of space between each “lollipop” both on the sides AND the bottom to place the stick. Layer a red candy, a green candy and then a red candy. Do it again the opposite way. Only use 2 candies – one red, one green. See you can have lots of fun.
- Once you have created your combinations, carefully place the cookie sheet in the oven trying not to disrupt the candies touching each other (if anything shifts, fix it as soon as possible)
- Bake at 200 degrees for about 5-7 minutes. Here’s the thing. You cannot walk away. You need to start watching about 3 minutes in and keep watching until you see them melted. Remove them from the oven just as soon as you see them melted. I mean, immediately. Otherwise they melt too much (trust me) and you can’t do anything with them because they run into all the other ones and make a big candy mess.
- As soon as you remove them from the oven, work quickly to add the lollipop sticks to each set of candies you have melted. Roll the stick to make sure it gets coated on all sides and stays secure. These candies cool quickly, especially in the winter months, so work fast.
- Allow them to cool about 20 minutes on the pan.
- As soon as they are cool, they should remove easily from the pan and can be eaten immediately or wrapped and given as gifts.
- Enjoy!

These were so cute I wanted to make them with my 5 year old. We made them this afternoon and not only were they easy, they taste great too.
These were so cute I wanted to make them with my 5 year old. We made them this afternoon and not only were they easy, they taste great too.
These are so cute. I am glad you updated with some pictures.
These are so cute. I am glad you updated with some pictures.
i am definitly doing these with my class tomorrow. thank you for a great idea.
i am definitly doing these with my class tomorrow. thank you for a great idea.
How far in advance of Christmas can you make these
These were so cute I wanted to make them with my 5 year old. We made them this afternoon and not only were they easy, they taste great too.
These are so cute. I am glad you updated with some pictures.
i am definitly doing these with my class tomorrow. thank you for a great idea.