This Chocolate Covered Strawberry Pie is a favorite around here. I’m not a huge pie baker, but I wanted something special, and this was created.
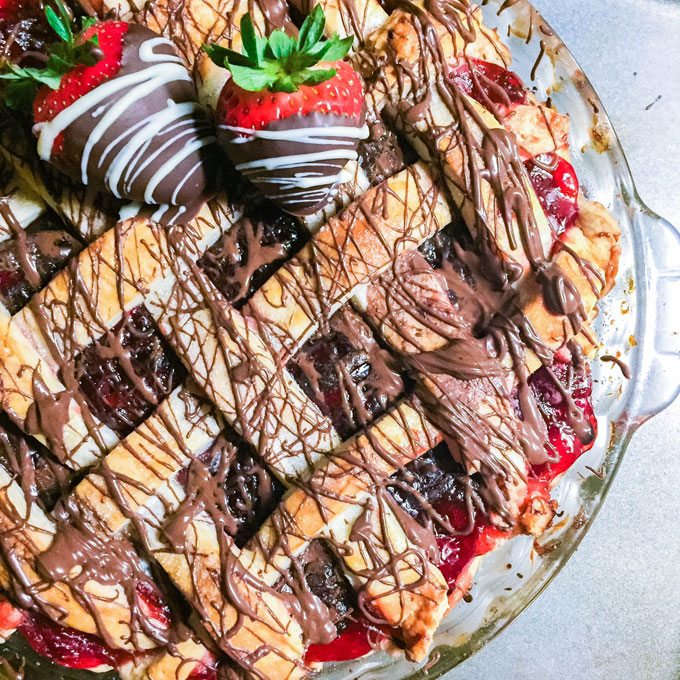
Sometimes you just feel like pie. Well, at least sometimes we just feel like pie.
Maybe you don’t. And that’s okay.
Until you see this.
The way this pie came about is actually a weird story.
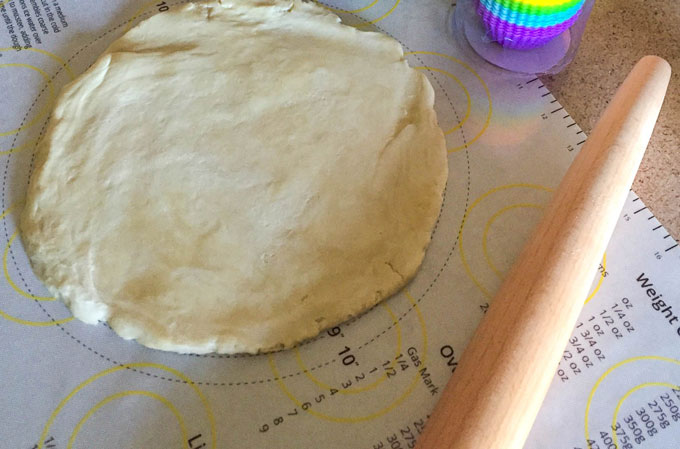
I was sent a baking mat to review.
I love this baking mat because it has measurements and templates for sizes.
I’m not reviewing that here. On the side of the mat, there is also a recipe or two printed. One is for a pie crust.
Do you love Chocolate Covered Fruit as much as we do? Try our Chocolate Covered Strawberry Cupcakes or our Chocolate Covered Strawberry Snack Cakes.
For some reason, last weekend I just sat and stared at the pie crust recipe, and thought… why have I ever not made a pie completely from scratch?
Well, I know why I had never made one – everyone said pie crusts were hard.
I had no doubt that it would be but this recipe looked so simple that I had to try it.
So we made a pie crust.
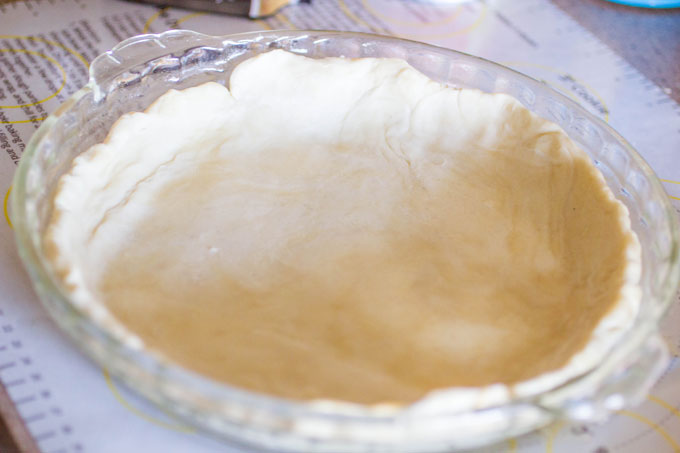
Then we sat staring at it wondering what to fill it with.
Since it’s Fall, I have an over abundance of pumpkin in my pantry. But we weren’t quit feeling a pumpkin pie and quite frankly it was sunny and warm.
It didn’t fit my mood.
We headed to the store and walked around the produce aisle for about a half hour.
We settled on Strawberry pie and I was intent on making my own filling.
For about a minute.
We headed to the baking aisle, to see what was over there.
That’s when I found the Strawberry pie filling. I quickly grabbed the cans because I just knew that was going to be easier.
As we took our first steps to walk away I noticed Ghirardelli Dark Melting Wafers.
The wheels started spinning.
“Let’s dip strawberries to decorate the top. At least it’ll be pretty.”
So my son grabbed a bag of the dark melting wafers and a bag of the White Melting Wafers (and before you wonder, this is NOT a sponsored post… I just love Ghirardelli and I loved how easy these looked to use).
So home we went.
My pie crust was all ready to go, so I spooned the canned strawberry into the pie crust and stared at the beauty that was happening in front of me.
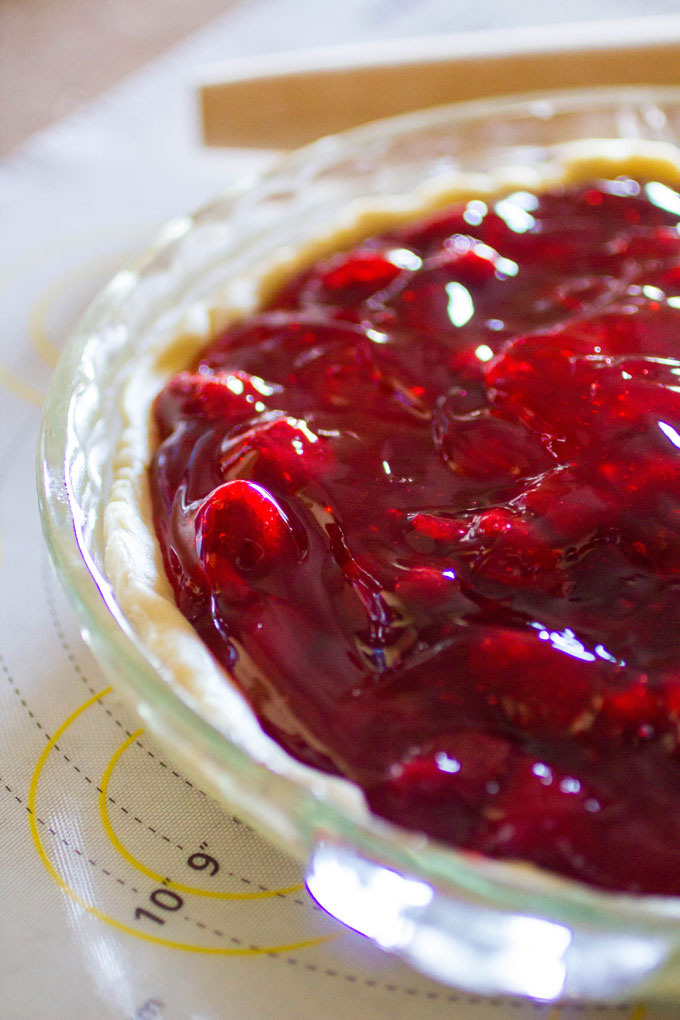
Yeah, I know. Just a Strawberry pie.
But I don’t do pies. I don’t make pies.
This was definitely a first.
After several minutes of staring at this beautiful mess, and as my daughter was busy melting chocolate for the strawberries to be dipped, I made an executive decision and I had no idea if it would work.
“Let’s make a Chocolate Covered Strawberry Pie!” I exclaimed with great vigor.
My daughter just stared at me.
“I thought that was what we were doing.”
“No, no.” I shook my head. “Let’s make the actual PIE Chocolate Covered Strawberries.”
She stared into the pot of melted chocolate she had and I saw the light bulb go on.
She nodded and smiled. My mini chef. She get’s me. She understood my plight. She understood my need to make this pie special.
Go big, or go home. Right?
And so we spooned about 3/4 cup of melted chocolate on top of all that beautiful strawberry goodness.
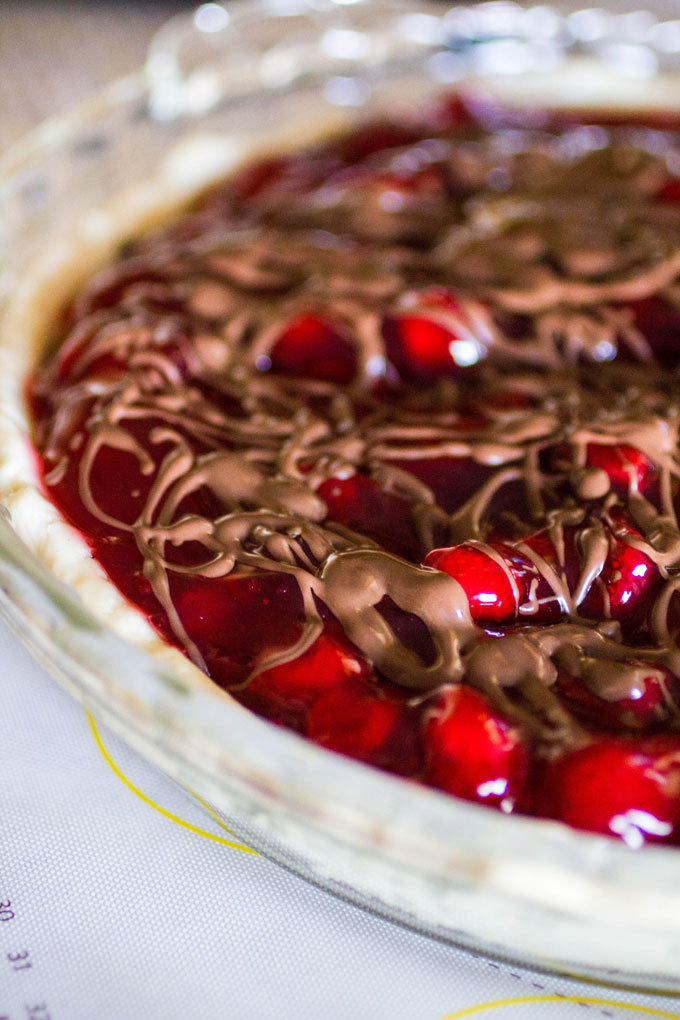
It was beautiful.
Again, I sat and stared.
It needed more.
And so it got more.
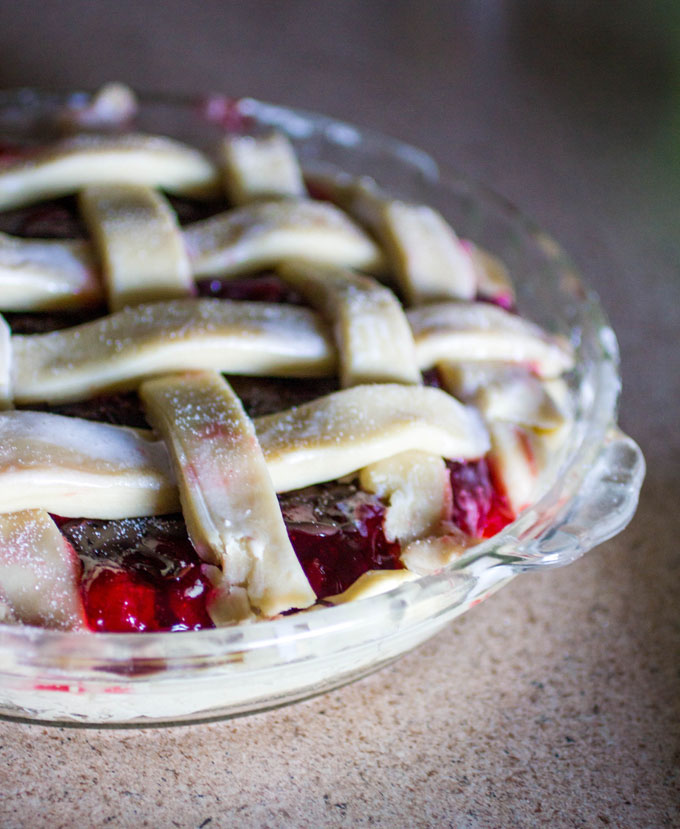
It got a lovely lattice topping.
Something I also had never done before and I made a huge mess doing, but I really didn’t care because this pie was still beautiful in my mind.
And at that point, I popped the pie in the oven and baked it. And then this happened.
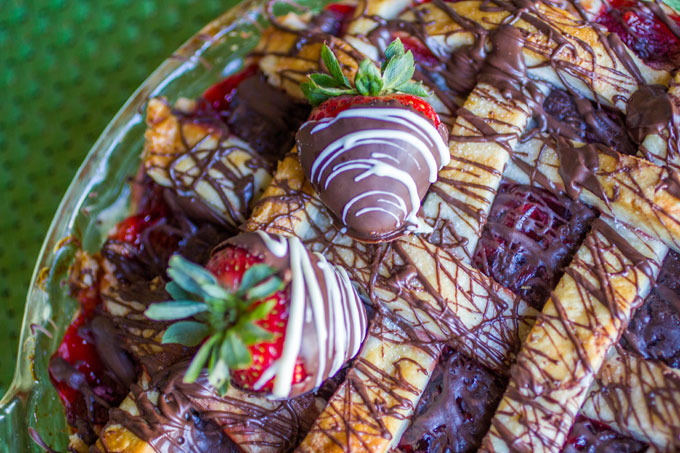
And all was right in the world.
I cannot even begin to tell you how amazing this pie was. And how ridiculously easy it actually was.
And to date, it is my most loved Instagram photo by my followers.
Which totally surprised me.
Okay, now I’m sure you’re ready for the recipe right?
Chocolate Covered Strawberry Pie Recipe
What is your favorite kind of pie?
Chocolate Covered Strawberry Pie
Ingredients
Pie Crust:
- 1 ¼ cups all-purpose flour
- ¼ teaspoons salt
- ½ cup shortening
- 3 Tablespoons ice water
Filling:
- 21 ounces Strawberry Pie Filling
- Ghirardelli Dark Melting Wafers
- egg wash
- sugar granules
Instructions
- In a bowl, whisk together the flour and salt. Using a pastry blender, cut in the cold shortening until you get what looks like course crumbs.
- Drizzle 2-3 Tablespoons of ice water over the flour. Toss the mixture with a fork to moisten, adding more water, a few drops at a time until the dough all comes together.
- Gently pat the dough crumbs into a ball. Wrap in plastic wrap and place in the refrigerator to chill for at least 30 minutes.
- Remove from refrigerator. Divide dough so you have some left for the lattice. Set aside the lattice dough.
- Roll out dough on your baking mat and place gently into a pie dish. Now you're ready to fill.
- Gently spoon the strawberry pie filling into your pie crust.
- In a double boiler, melt 1 cup of Ghirardelli Dark Melting Wafers according to package directions.
- Once completely melted, drizzle across the strawberry pie filling.
- Roll out your lattice dough, and cut into strips.
- Lay your strips over the pie in a lattice pattern.
- Brush the top of the strips with the egg wash just before putting in oven. Sprinkle with sugar granules.
- Put the pie dish on a baking pan, and bake in a 400 degree oven for 15 minutes.
- After 15 minutes, reduce oven temperature to 350 degrees and continue baking for about 30 minutes or until the crust is golden and strawberry is bubbly.
- Remove and cool before serving.
- Once cool, melt more Ghirardelli Dark Melting Wafers to drizzle over the top.
- Optional: Place chocolate dipped strawberries on the top for presentation.

omgeee this is my hubby’s dream come true!!!
I made this a couple of days ago and it turned out so good. I have never made a pie like this! Thx for a great recipe!
omgeee this is my hubby’s dream come true!!!
I made this a couple of days ago and it turned out so good. I have never made a pie like this! Thx for a great recipe!