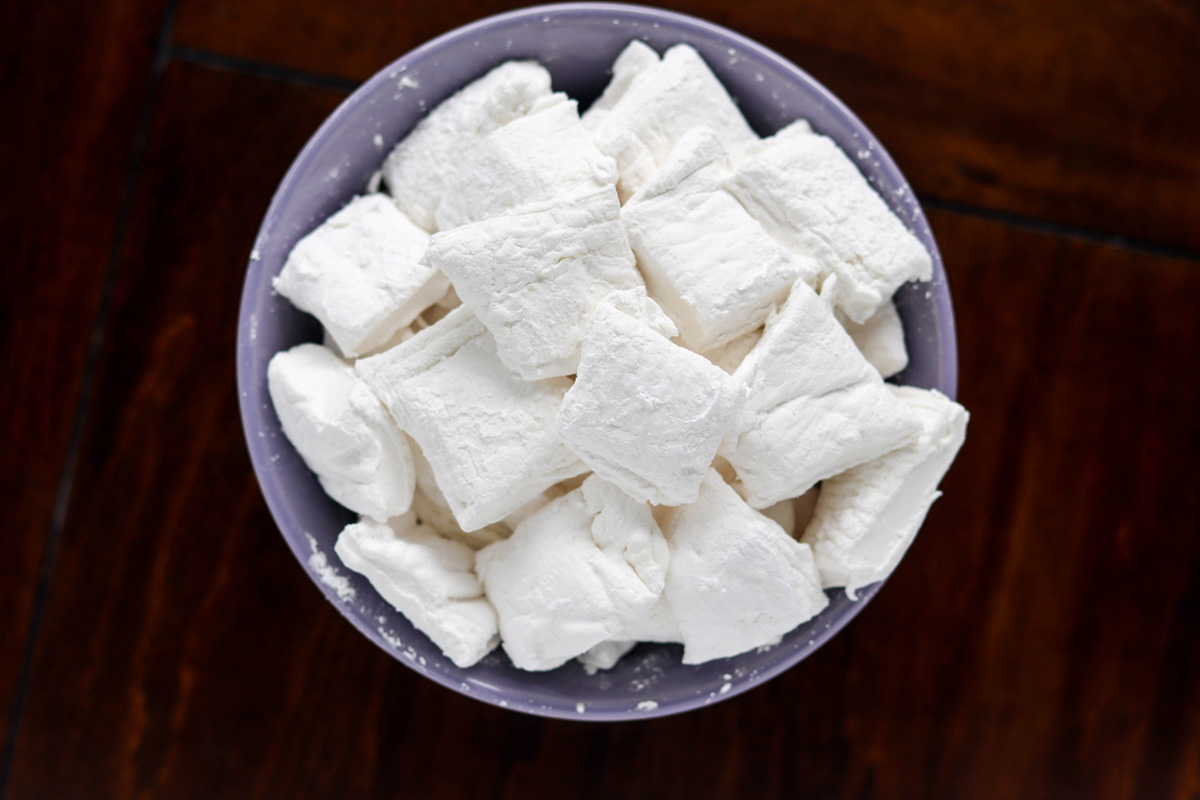
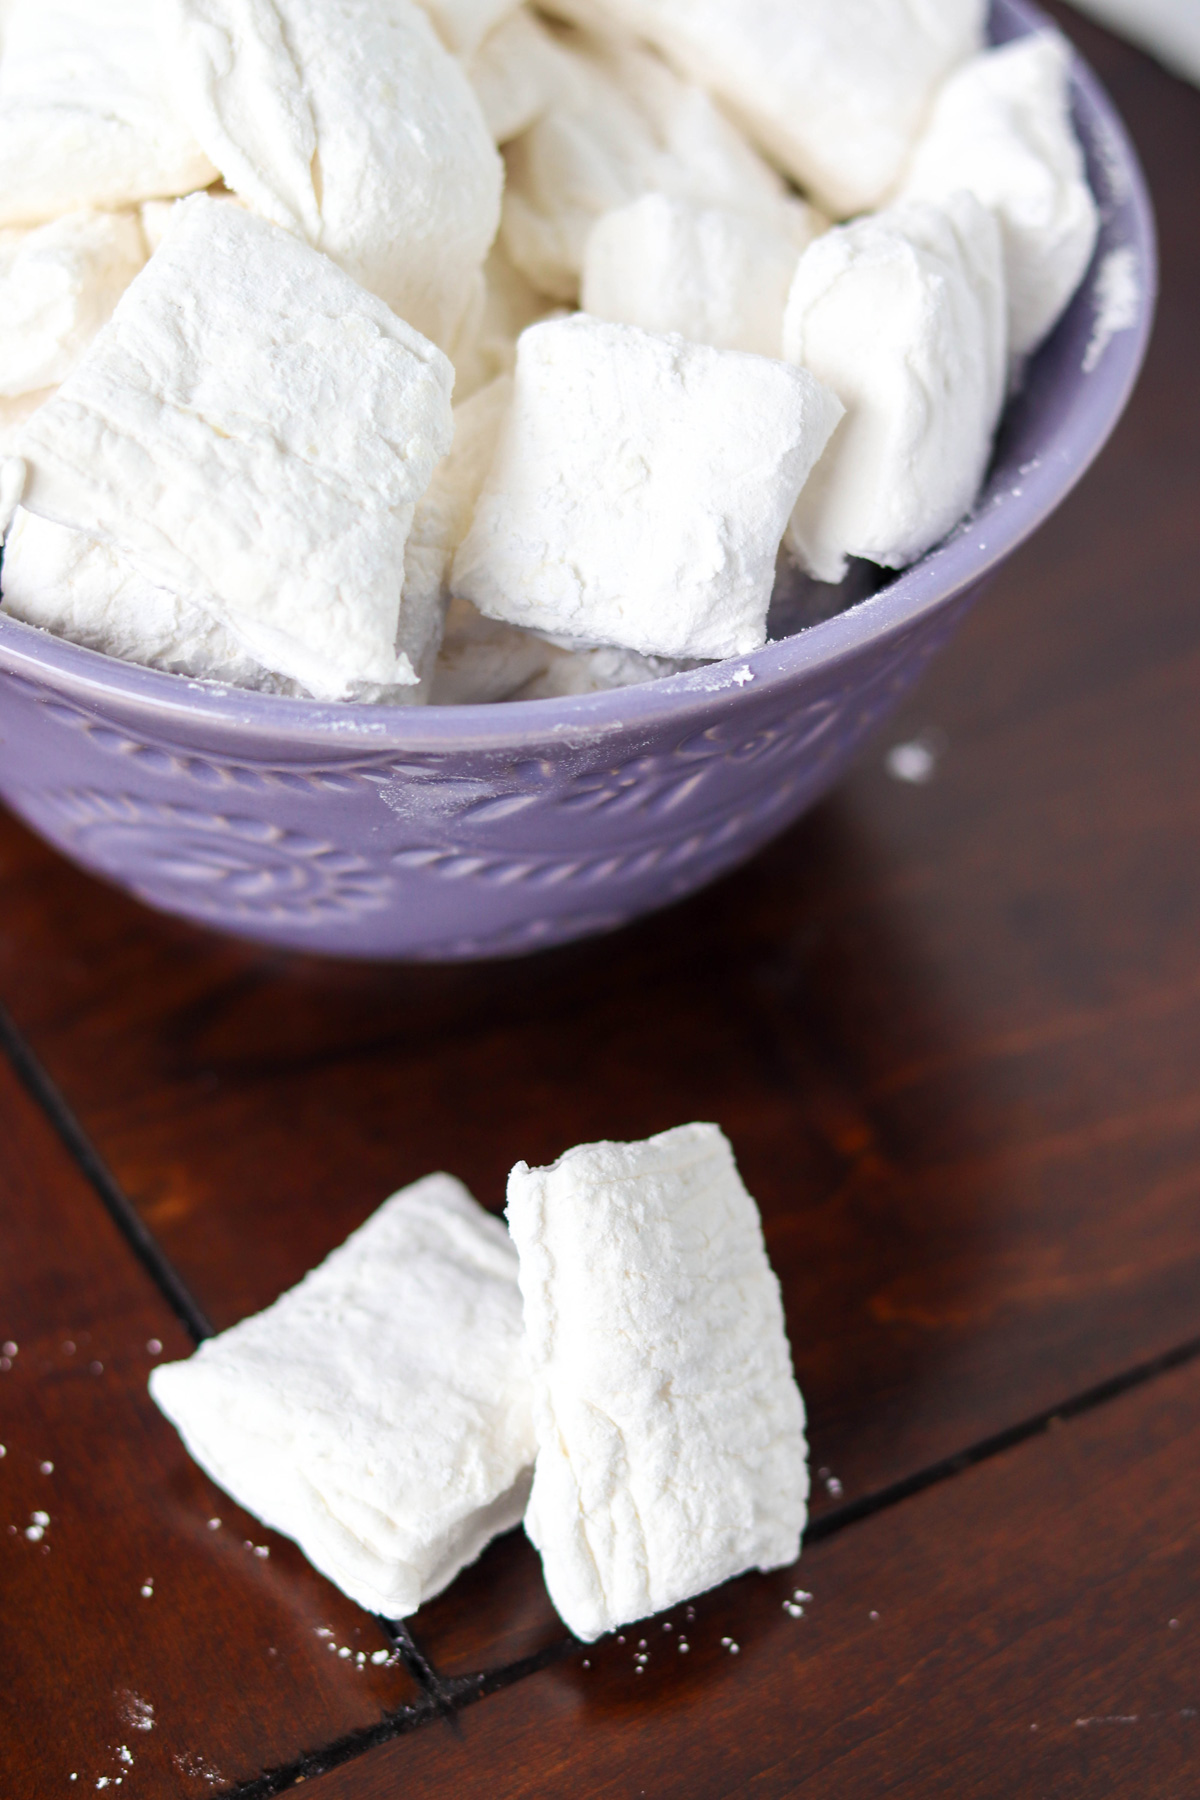
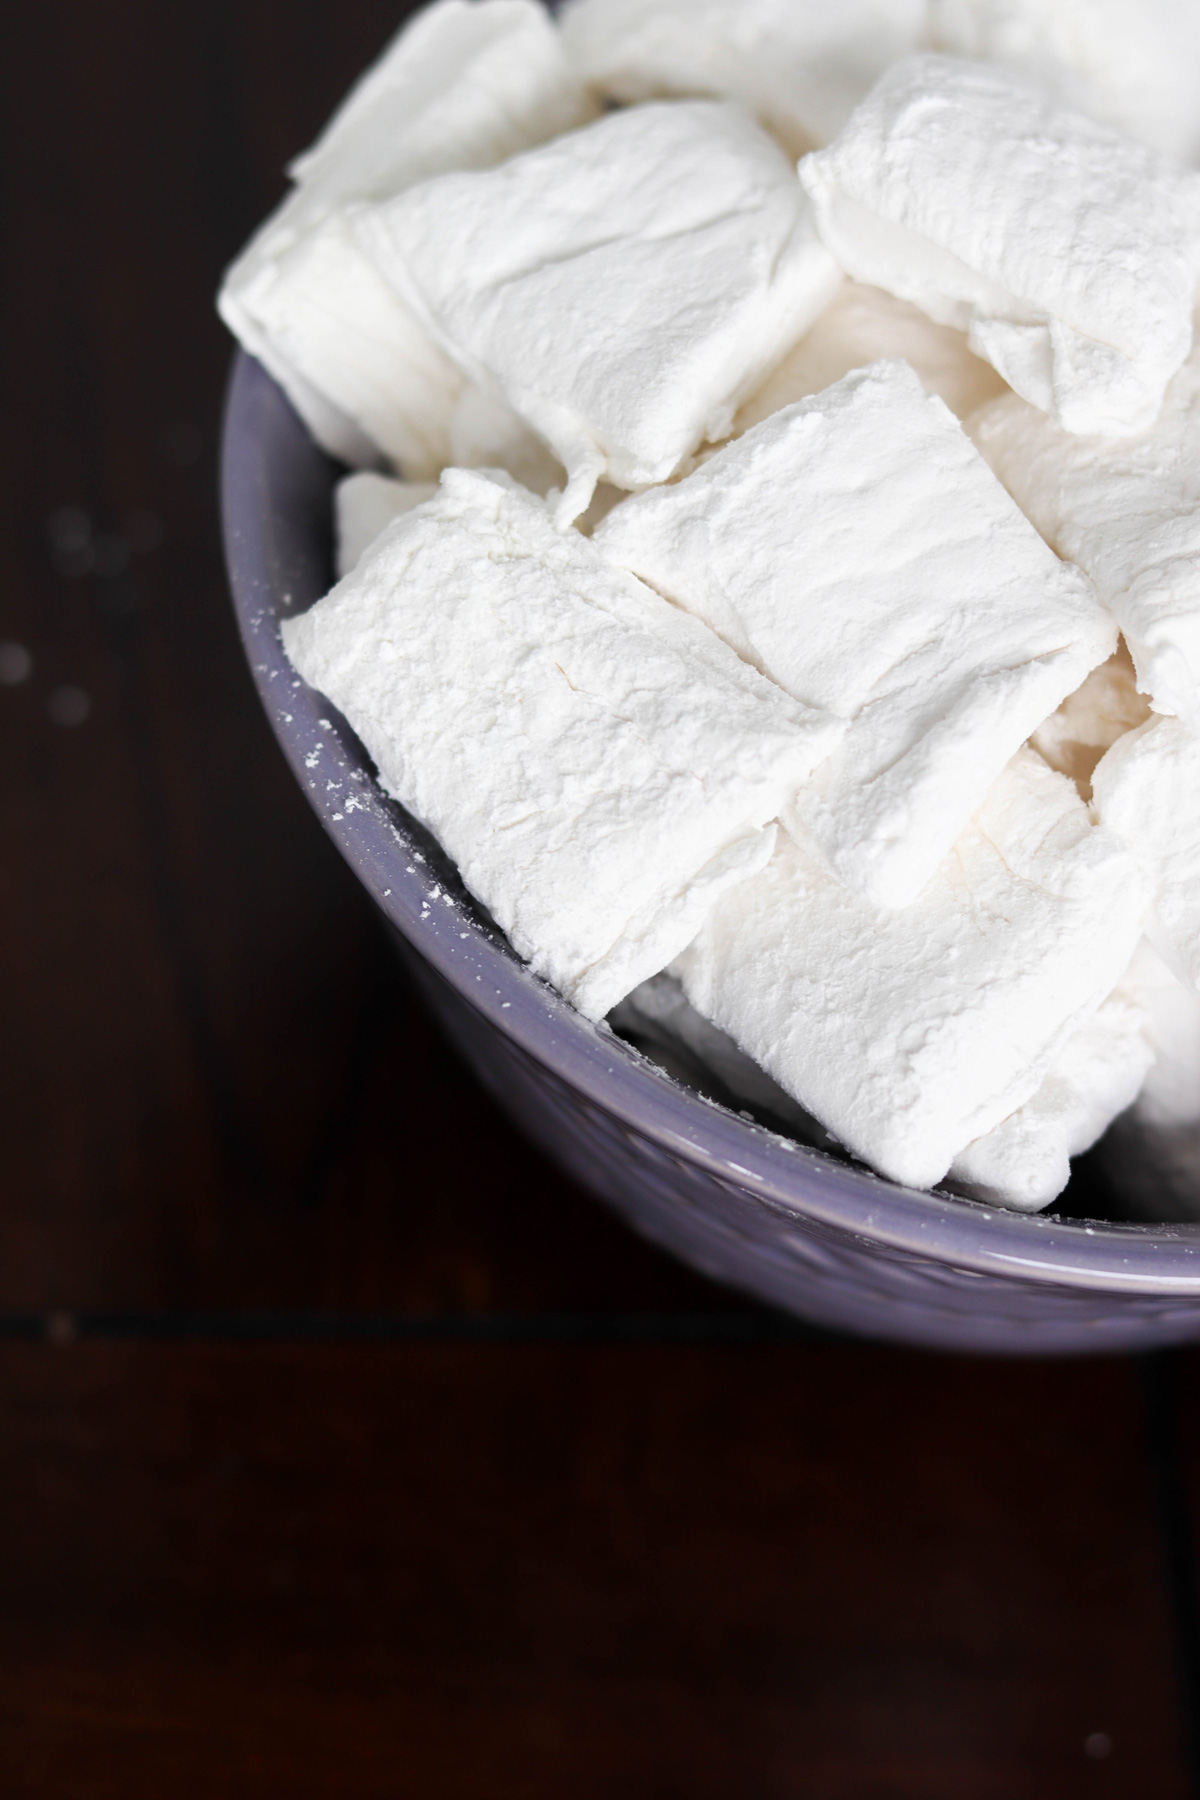
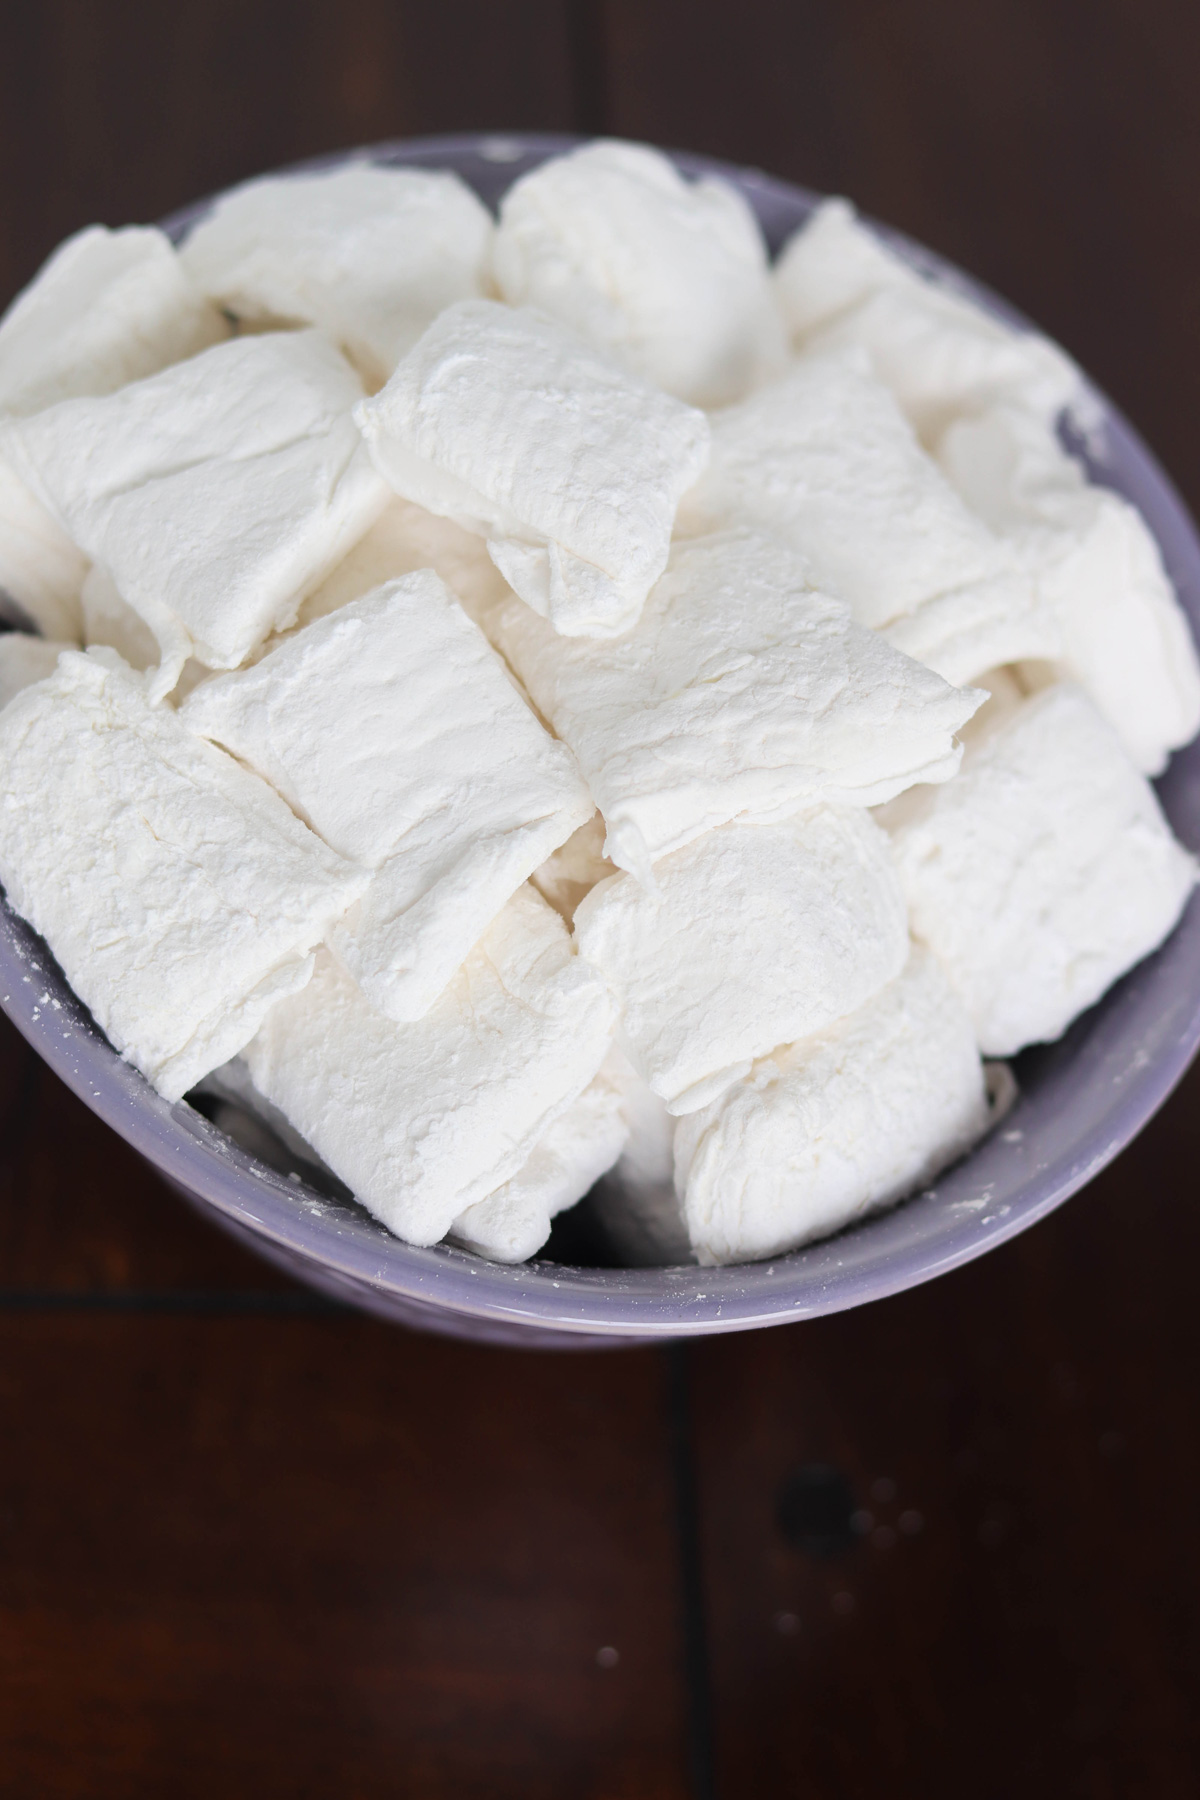
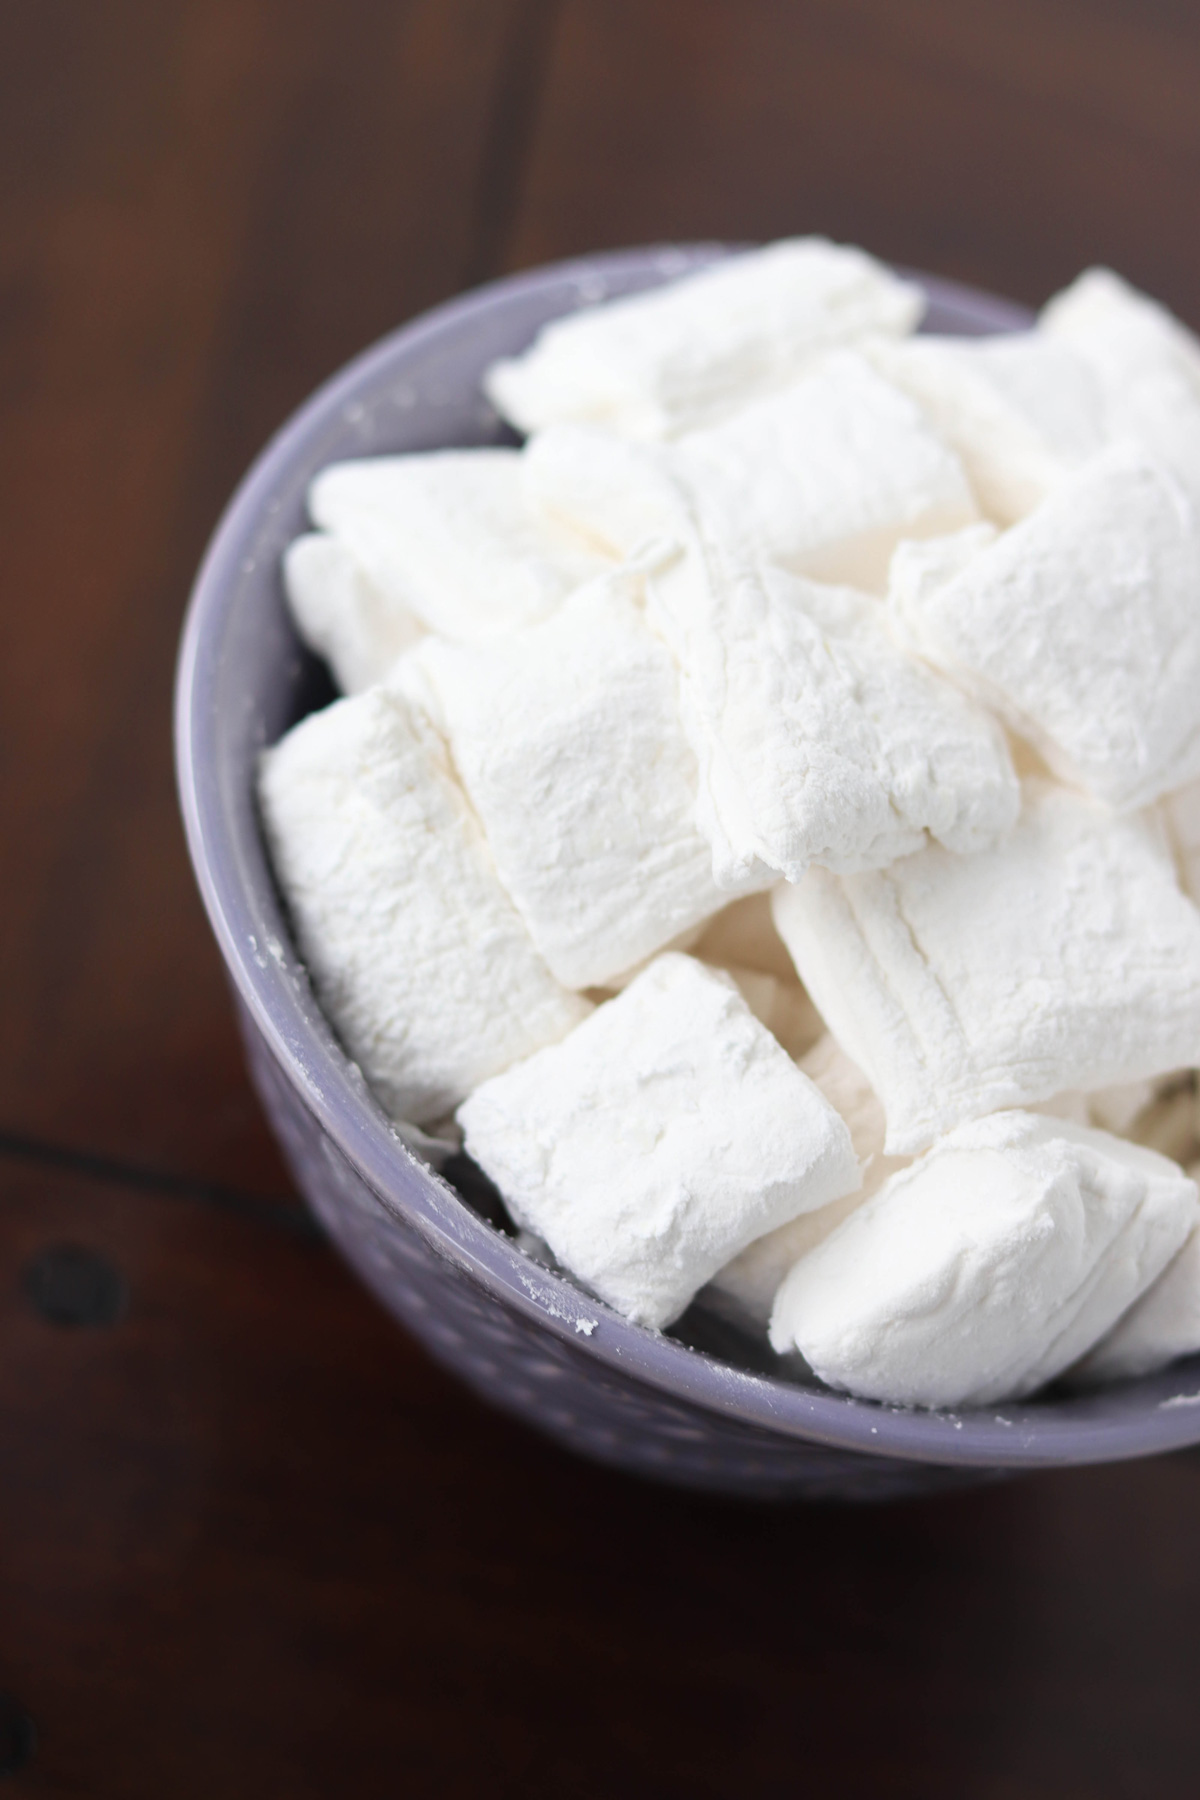
These soft, and bouncy homemade marshmallows are perfect for recipes, s’mores, roasting over a campfire or simply just popping them into your mouth. So good! No corn syrup needed, no egg whites – just pure pantry ready ingredients.
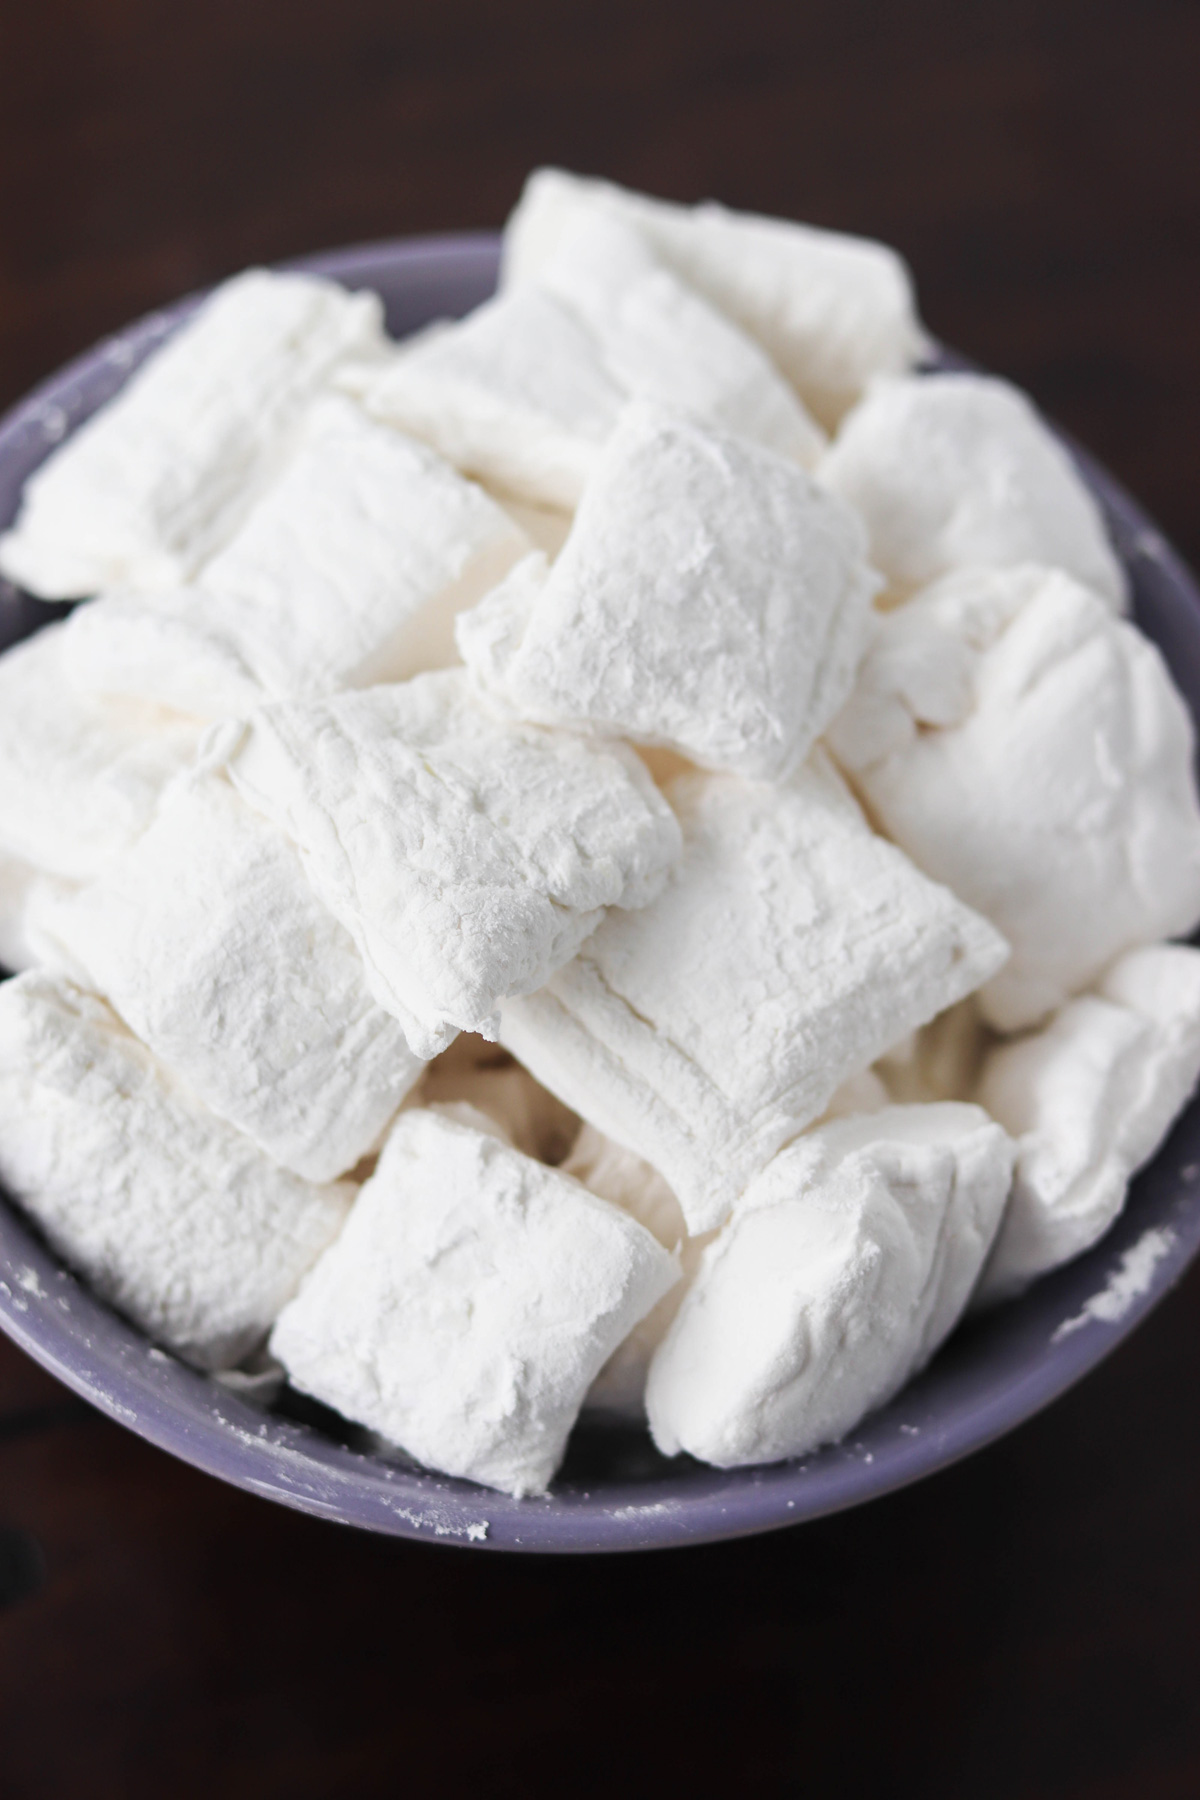
As fall rapidly approaches, I thought it was a good time to resurrect these amazing Homemade Marshmallows and share them again.
Originally posted in 2009, they needed some updated photos!
There is no better time, or any excuse that should keep you from trying these on your own.
They are easy and delicious!
With the cooler weather moving in, especially in the evening, these Homemade Marshmallows are the perfect recipe to make!
These marshmallows are perfect for campfires, baking recipes, s’mores and so much more!
They are actually really easy to make and taste amazing by themselves, but lend so much flavor to whatever you decide to put them in.
Why make homemade marshmallows?
Well, for starters, they are SO much better than store-bought.
You know what you are putting in them, no additives or preservatives.
They have this incredible full bodied marshmallow flavor that a fluffiness with a melt in your mouth feel.
They are better in baking, and don’t even get me started on how incredible they are on s’mores. They melt so much better than a store bought marshmallow could.
Plus you can make them ANY size you want. From the tiniest morsel to a giant chunk!
How long do these marshmallows last?
Indefinitely.
The great part about homemade marshmallows is that they can last a very very long time. Like…forever?
There is nothing in these marshmallows that will go bad.
Just be sure to store them in an airtight container, allowing no moisture to get in and I recommend in a pantry, away from the sun.
How many marshmallows does this recipe make?
This is going to depend on a couple of factors.
First, the size you cut the marshmallows will determine how many you get.
Also, how thick you make them. This will depend largely on the size of the pan you use.
On average I get about 25-30 out of this recipe.
What equipment do I need to make homemade marshmallows?
You probably have most of what you need, right there in your kitchen. Basic supplies.
However, I will tell you that a stand mixer is probably the best item to use.
The reason is, you are working with a VERY hot substance and there is a lot of steam that comes into play.
Trying to use a hand mixer is going to become painful over time. A stand mixer just works better.
You can get a relatively inexpensive Stand Mixer on Amazon with all your needed attachments.
Let’s get baking!
Easy Homemade Marshmallows
Ingredients
- 2 tablespoons [unflavored gelatin powder] we use knox
- ½ cups warm water
- 3 cups granulated sugar
- 1 cups water
- 2 teaspoons [clear vanilla extract]
Instructions
- Completely line a 9×13 pan with parchment paper.
- Lightly spray with non-stick cooking spray.
- In a small bowl with 1/2 cup of warm water inside, sprinkle the gelatin on top evenly and set aside for 10 minutes.
- Meanwhile, heat the sugar and 1 cup of water in a saucepan over medium heat. Whisk the mixture occasionally until combined.
- Allow the sugar mixture to reach 240 degrees F (check with a candy thermometer). I strongly recommend that you do not walk away and that you stir very often. This process can go very slow and then all of a sudden you’re mixture is too hot or the sugar is burning.
- Remove from heat and allow to cool for about 10 minutes.
- Whisk your gelatin bowl until combined and smooth.
- In the bowl of a mixer, pour the gelatin mixture and whisk on medium. Add a pinch of salt.
- Begin adding the sugar mixture a tiny bit at a time and allow the mixture to whisk and combine in the stand mixer in between each addition.
- As soon as all the sugar mixture has been added, add the vanilla extract.
- Beat the entire mixture for about 8 minutes, until stiff peaks form. It will still be smooth but not too runny and not too thick.
- Pour the mixture into your parchment lined pan, using a spatula to smooth it into an even layer.
- Cover the top of the pan with another piece of parchment paper.
- Place in the refrigerator for 6 hours.
- When ready to cut, prepare a cutting area by sprinkling it with powdered confectioners sugar. Turn the pan out onto the sprinkled powder. Peel the parchment paper off. Dust the other side.
- Oil up your cutting tool (I prefer a pizza cutter but a knife also works)
- Using a pizza cutter (it’s just easier), cut the marshmallows into strips and dust the freshly cut sides with powdered sugar.
- Then cut the strips into your desired size of marshmallows. Toss in powdered sugar and then shake them in a mesh strainer to remove excess.
- Store in an airtight container. Enjoy!

